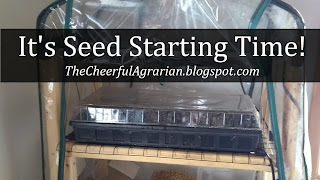
Anyway, this morning I finally decided to give up on that experiment and just plant like I have in the past. This was liberating - I could just go ahead and do it, no more waiting! I actually got up early this morning so I could get started (that's how excited I am - some people get up early for Black Friday, I get up early for Seed Starting Day!) The first thing I did was get out my mixing pan (I bit the bullet and shelled out $10 for a new one this year - I used my old one for feeding the chickens, and now it's in the garden buried under three feet of snow. It was either shell out the $10 or dig around until I found it. I chose the cash. Three feet of snow is heavy!) I used an old plastic one-gallon pitcher to measure out the soil, then added half that much water and mixed it in. I find this 2:1 ratio works just perfectly to prepare the soil for using my soil blocker. I have to say, I love this tool! I first read about it in Eliot Coleman's New Organic Grower, and have been wanting one ever since. I finally bought one last year, and have been kicking myself for not doing it sooner. I can control what's in my seed starting mix; I have better control of the soil moisture level; and I like the little indentation on top that keeps the seeds in place (with the old Jiffy Pellets I often had seeds slipping down the side and growing from the bottom of the peat pot!)
I punched out my soil blocks into a plastic seed starting tray (the kind without holes - that's very important if you don't want water dripping all over the place). It turned out that my tray could fit about 45 soil blocks - about 24 per gallon of soil, so I ended up mixing two batches - which worked just perfectly for the 37 seeds I wanted to start (you can read my 2019 seed starting plan here). After placing my seeds in their little indentations, I put the tray on a seed starting heat mat and covered it with a plastic cover. In a few days, when the seeds sprout, I'll take off the cover and turn on my grow lights.


Great Post Ruth!! You are so right, it may seem intimidating at first, but well worth it in the end and yes, you save money for sure starting your own seeds.
ReplyDelete