Sunday, November 6, 2016

Pumpkin Puffs


. . . because cream puffs are the best dessert ever, and because it's fall, so everything must be pumpkined!

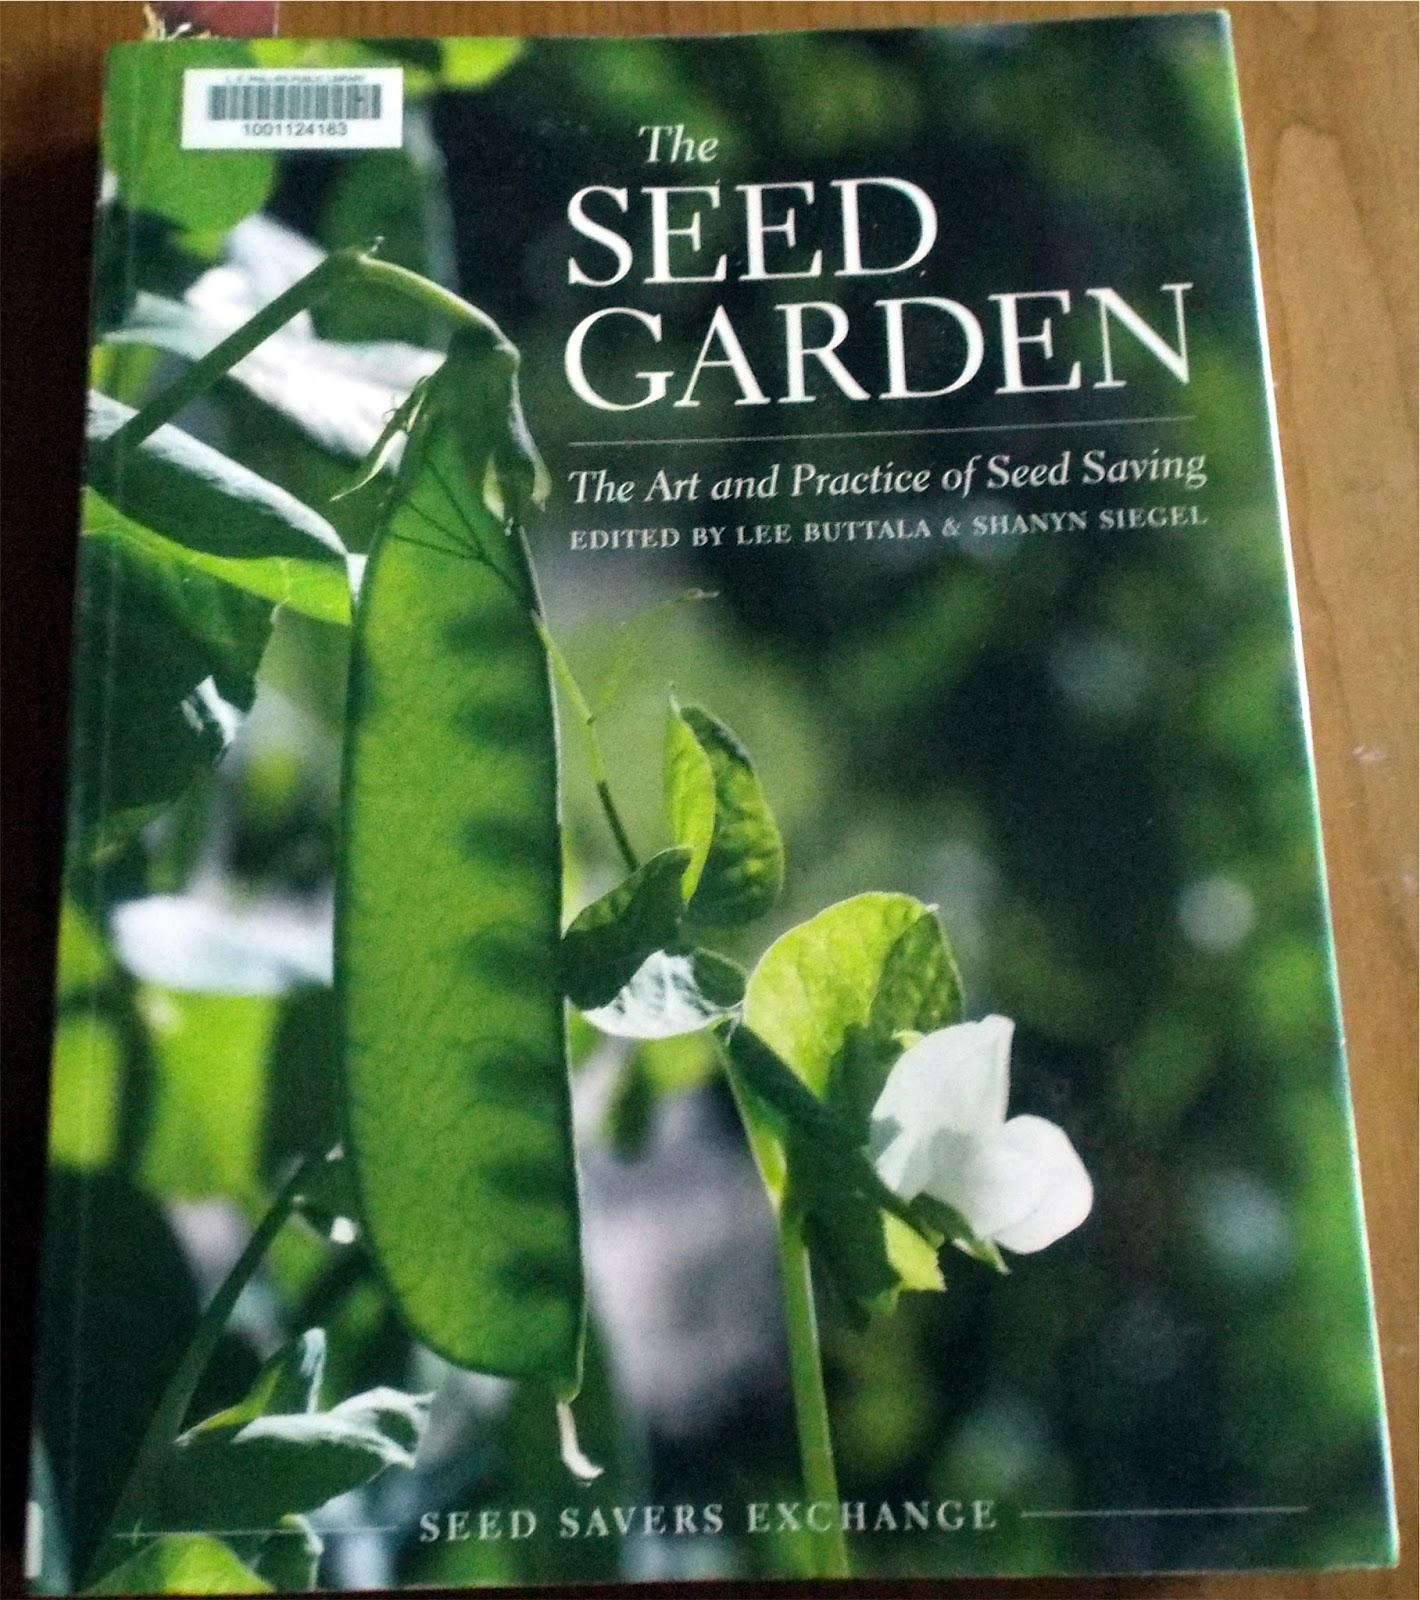
I was reading through a fun book I saw at the library - The Year of Cozy by Adrianna Adarme - and found (among many other things I immediately bookmarked) a recipe for No-Bake Pumpkin Chiffon Pie. The author said she "fell in love with chiffon pies a few years ago; they're wonderfully light, and their texture is silky smooth." Maybe it's just me, but this description immediately cried, "Cream Puff!" in my mind. So I tried it. The original recipe calls for rum, which my kids didn't like, and beaten egg whites for its lightness. So I decided to try it again, after tweaking the recipe to our taste. First step: compare all of the pumpkin pie recipes I could find with all of the Boston cream pie filling recipes I had. So I pulled out my book of family recipes, my Better Homes and Gardens New Cookbook, and, of course Joy of Cooking.

The latter was, as usual, the most helpful in "reinterpreting" a recipe - there I found that folding in whipped cream to the the cooled custard would give it the lightness I was looking for. I served them to my kids (and also to my husband, sister-in-law, mother-in-law, and niece and nephews, who were visiting that day - a good excuse, I thought, to try out an extravagant new dessert. Thankfully, they're used to being experimented upon (and when it comes to dessert, they don't seem to mind!) Plus, Debbie brought a back-up dessert of leftover apple crisp, so even if it flopped, we were covered). The verdict: an unqualified success (Debbie even asked for the recipe - and took all of the apple crisp back home).
So Debbie (and everyone else who shares my love of all things pumpkin and all things cream puff) here you go:

Pumpkin Puffs
Puff pastry:
1 cup water
1/2 cup butter
1 cup flour
4 eggs
Heat oven to 400 degrees. Heat water and butter to boiling in a medium saucepan. Stir in flour all at once, stirring until mixture forms into a ball and leaves sides of pan (about 1 minute - I like to use my Kitchen Aid hand blender for this). Beat in the eggs, one at a time, beating until smooth after each addition. When all of the eggs have been added, drop by spoonfuls onto a baking sheet. Bake for 45 to 50 minutes, until puffy and dry. Cool, then cut off tops and scoop out any soft dough remaining inside.
Filling: 
3 Tbsp water
2 tsp unflavored powdered gelatin
1 cup pumpkin puree
1/3 cup heavy cream
1/3 cup maple syrup (honey or sugar work fine, too)
2 eggs
1/4 tsp salt
1/2 tsp ground cinnamon
1/2 tsp ground ginger
1/4 tsp grated nutmeg
1/8 tsp cloves
1 cup heavy whipping cream
3 Tbsp maple syrup (honey or sugar work fine, too)
In a small bowl, sprinkle the powdered gelatin over the water and let rest. Meanwhile, in a medium saucepan over medium-high heat, mix the pumpkin, heavy cream, maple syrup, eggs, salt, and spices.  Cook until mixture begins to thicken. Transfer to a bowl and stir in the rum and gelatin. Refrigerate. 
Whip the cream and maple syrup. Beat chilled custard to soften; fold in whipped cream. Spoon into prepared puff pastry.  
 
Chilled custard

Blended custard

Folding in the whipped cream
Ready to spoon into the puffs
Chocolate Sauce:
1/3 cup maple syrup (honey or powdered sugar would also work)
1/2 cup butter (coconut oil is fine, too)
1/2 cup cocoa powder
dash salt
Mix together in a double boiler until melted and smooth.
 Drizzle over pastry top.

 Devour!


Click on the picture of the book above or the link in the text to view a full description on Amazon.com. 
Disclaimer: if you purchase the book (or another item) after following the link above, I will receive a small commission from the sale. Thank you for your support!

Monday, October 17, 2016

Broccoli Three Ways


Just had to share this picture I took with my phone when I went out to check for eggs this afternoon. Although it looks like a mess, this is actually one of the most productive parts of my garden. I planted broccoli (and other things) in the chicken run this spring, while the chickens were out in another pasture. When I'd harvested all I wanted, I let the broccoli flower, and eventually let the chickens back in to that pasture. Now the bees are enjoying the late fall nectar from the broccoli flowers, the chickens are feasting on the broccoli leaves (and any cabbage worms that may fall off of the broccoli), and the plants are enjoying the fertility left behind by the chickens. It was one of those scenes that made me stop and think, "Yup, God knew what he was doing!" It all works together so perfectly!
Not to mention we humans get three harvests from one plant - the broccoli florets, the honey from the bees, and the eggs from the chickens (four if you count the meat and broth from the chickens when they're done laying!) So much abundance from one small space!

Friday, June 10, 2016

Grilled Cheese Waffles


Yes, you read that right. My daughter and I had a genius idea last night - we were out of bread, and really wanted to have grilled cheese sandwiches. What to do? Make waffles! We mixed up a batch of Belgian waffles, left out the honey, added cheese and garlic, and voila! Light and fluffy, and perfect with tomato soup!

Grilled Cheese Waffles 
2 eggs
2 cups flour
2 tsp baking powder
1/2 tsp salt
2 cups milk (or buttermilk)
6 Tbsp melted butter
2 cloves garlic (optional)
1 cup shredded cheese
Mix all together until smooth, fry according to waffle maker directions.

Saturday, March 5, 2016

Healthy Mayonnaise

Here's another condiment that's so easy to make at home, you really don't have to put up with the processed soybean oil version you buy at the store.
Healthy Mayonnaise
1 cup oil (sunflower oil works great in this; for the most amazing BLT ever, make it with melted (but not hot) bacon fat!)
1 egg
1/2 tsp salt
1/2 tsp dry mustard
1/2 tsp honey
1 Tbsp distilled vinegar
2 tsp lemon juice
If you have a stick blender, you simply add all the ingredients to a pint-size jar, rest the stick blender on the bottom of the jar, hit the "on" switch, and slowly raise the shaft to the top of the mixture. It should take about 5 seconds.

If you're using a conventional blender, you need to put all ingredients but the oil into the blender, mix lightly, then drizzle oil into the blender jar as slowly as you can. This will take much longer, but the final result will be the same.

Saturday, February 13, 2016

Favorite Books of 2015 #3 - The Seed Garden

The Seed Garden: The Art and Practice of Seed Saving edited by Lee Butalla and Shanyn Siegel
(click on the link above to buy the book on Amazon)

One thing I'd like to do more in my garden is saving my own seed, but to be honest, I know just enough to know I don't know enough to do it well! I know, for example, that I need to have a large enough planting to avoid inbreeding in certain crops (although self-pollinating crops, like beans, don't have this problem) - but which ones were self-pollinating again? And for those that do cross-pollinate, which crops do they cross with, and how much spacing do I need between them? When it's harvesting time, how do I know when my seeds are fully mature, and how do I dry and store them? I remember that tomato seeds need to be soaked and fermented before they're ready, but what other seeds need this? And which ones need a cold period?

I could hunt down information online about each crop when I was planning my garden, and again when I was harvesting seeds, but in the hustle of summer harvesting, who's got time for that? And in January when I'm planning my garden, my kitchen table is already overflowing with books on companion planting, how-much-to-grow-for-how-many-people charts, lists of how much our family ate last year, and of course seed catalogs! There's no room for seed-saving research for a dozen different plants.

That's why this book is a Godsend. In one handy, indexed volume are 230 pages of crop-by-crop descriptions of everything you need to know about each crop (usually two or three pages per crop), including history of the plant and its common uses, how to grow it for seed (not necessarily the same as growing it for food), pollination requirements, variety maintenance concerns (isolation distances, inbreeding depression, specific traits to select for, etc.), how to tell when your seed is fully mature, and how to dry and store your seed.

And if you don't know why all of that matters, the first 119 pages of the book are like a Seed Saving 101 course, giving you the whys and hows of seed saving and basic plant genetics (but in a very friendly and understandable way). This book is packed with information, and would be useful for both the first-time seed saver and the expert, who would welcome having all of this information at his fingertips. Much more comprehensive than other books on the subject (but not overwhelmingly so), this handy reference would be a useful addition to every gardener's bookshelf.

*** I should note that although this book is pretty comprehensive in respect to vegetable varieties, it does not cover flowers or herbs (I'm assuming they chose not to because of the sheer size that volume would have to be!) For those, I will be keeping my old copy of Seed Sowing and Saving by Carole Turner, which lists basic information for saving both vegetable and common herb and flower seed (although it's by no means as extensive in terms of vegetable crops as The Seed Garden, or as comprehensive in the information about each plant - Seed Sowing and Saving mostly just covers how to preserve the seed, and basic planting requirements).
Note: I was not payed to review this book, I just really love it! But if you click on the link above and buy the book at amazon.com, I will receive a small commission from the sale. Thank you for your support!

Favorite Books of 2015 #2 - The Art of Natural Cheesemaking

The Art of Natural Cheesemaking: Using Traditional, Non-Industrial Methods and Raw Ingredients to Make the World's Best Cheese by David Asher
(click the link above to buy it on Amazon)

I am so excited about this book! I knew, deep down, that people made cheese before the advent of stainless steel and mail-order bacterial culture packets, but I couldn't find any information on how. I'd catch glimpses in cheesemaking books (usually glossed over under a quick "history of cheesemaking" section), or on over-my-head technical websites on bacteriology, but never anything I could really use. Until now . . .

From the first two paragraphs of the introduction, all the way to Appendix E (Comparison of Microorganisms in Commonly Used Starters, Raw Milk, and Kefir), this book answers all of my questions (and quite a few I didn't know enough to ask). And best of all, it's full of recipes! I discovered that my "Homemade Press-Less Raw Cheddar Cheese" isn't really a true cheddar at all - "cheddaring" is actually a term referring to the way the cheese is cut, stacked, and pressed. But it does match pretty closely with his recipe for Basic Rennet Cheese, which is a sort of "blank" cheese that can then be made into cheddar, mozzarella, blue cheese, Camembert, feta, or Gouda, depending on the steps that follow. So technically, my recipe is for cheddar cheese that hasn't been cheddared! Asher does note, however, that "this fresh cheese is eaten in vast quantities in Europe, the Middle East, and Central and South America." Apparently, then, my family is in good company - they eat this fresh cheese in vast quantities, too!

As I mentioned, one reason I was excited about this book was the idea of making cheese without packaged bacterial starter cultures. I knew it could be done (I'd made cottage cheese out of raw milk without adding any starter culture at all, just rennet), but I wasn't about to risk four gallons of precious milk on an experiment I wasn't sure would work. Knowing that someone who knows what he's doing uses this technique on a regular basis gave me the confidence to try it.

So how does he get around using mail-order cultures? He uses either kefir or active whey (leftover from a previous batch of cheese, and thus host to the bacteria needed to make another batch). I chose to use kefir, mainly because of the catch-22 that I wouldn't have any active whey until I'd made a batch of cheese with the proper bacteria - which I wouldn't have until I had some active whey . . .

At first I thought perhaps I could just use whey from a batch of cheese I'd made with my freeze-dried cultures, but Asher says this isn't a good idea: "Cheesemakers can not reculture their DVIs [Direct Vat Innoculants - purchased freeze-dried cultures]. They are unstable collections of bacteria that do not exist in nature, whose profiles change over time, and whose performance and quality will decline if reused. Much like the unpropagatable hybrid seeds that many farmers use, DVIs must be purchased anew for every batch of cheese. Cheesemakers, therefore, become dependent upon purchased packaged cultures. Even if it were possible, reculturing the proprietary blends of often trademarked cultures may not even be permitted!"

So that left kefir as my best option for a sustainable starter culture. Kefir grains (which are not really grains like wheat or oats, but rather a symbiotic colony of bacteria and yeasts - similar to a kombucha SCOBY, although they look completely different and host different microbes). Thankfully, a friend of mine had some extra kefir grains she was willing to share (kefir colonies grow quickly, and need to be divided regularly), and by the end of the week my kefir production was cruising right along. To keep my grains healthy, I need to feed them much more than I'd need just for once-a-week cheesemaking, so we mix the extra with bananas and blueberries each morning for a tasty probiotic breakfast smoothie.

Now that I have my kefir ready to go, I can make almost any kind of cheese in the book (other than blue cheese - to get the tasty blue bloom, I'd need to grow some Penecillium roqueforti - which Asher claims is easy to do on homemade sourdough bread. He even shares his sourdough recipe in Appendix A!) The recipes are all very simple and straightforward, and if you do run into a problem, he includes a troubleshooting guide in Appendix D, covering all of the cheese recipes in the book. Whether you're a beginning cheesemaker or just looking for a more sustainable way to make your homemade cheese, this book is full of useful information for anyone who wants to make good cheese.

Note: I was not payed to review this book, I just really love it! But if you click on the link above and buy the book at amazon.com, I will receive a small commission from the sale. Thank you for your support!

Favorite Books of 2015 #1 - The Nourishing Homestead

The Nourishing Homestead: One Back-to-the-Land Family's Plan for Cultivating Soil, Skills, and Spirit by Ben Hewitt
(click the link above to buy it on Amazon)

I love this book. It has everything I love to read in a homesteading book, all rolled into one: stories, recipes, how-to, and inspiration, all in an easy-to-read conversational style from someone who's living the life he's describing. It's not all sunshine and rainbows - he freely discusses the trials inherent in farm life, the struggles they've faced, and mistakes they've made. It's a practical and philosophical discussion of their life building a homestead.

One of the main themes throughout the book is his idea of economics - not necessarily how much fiduciary capital you can accumulate (although he's not against money), but how much joy, fulfillment, and purpose you gain or give up in exchange for the time and effort you expend. Working 40 hour weeks in an office might earn you a bigger paycheck, but is that worth the loss to your physical health and relationships? Not to mention the satisfaction of seeing your efforts result directly in producing the things your family needs (like food, shelter, clothing, etc.)

I really appreciate that, like me, one of their family's main reasons for pursuing the homestead life is a recognition that home-grown food, with a focus on soil and animal health, is crucial to promoting your family's health. There are many reasons for homesteading (some more reasonable than others), but this is one that really resonates with me.

In pursuit of their goal of healthier food for their family, they focus on both gardening and animal husbandry (devoting a chapter to each, plus a chapter on animal slaughter and processing). The fourth chapter in particular details their research and reasons for farming and cooking as they do. But the book (and the lifestyle) are about much more than food, as chapter 9, Money and "Stuff", describes. The final chapter, Children on the Homestead, particularly struck a chord with me, since we also homeschool and try to involve our kids into our daily homesteading tasks. Although I don't completely agree with all of their choices (we don't "unschool", and we make sure our Christian worldview is integrated into all of our studies), I do agree with much of their philosophy.

This is one book that I knew I'd have to buy as soon as I started reading - the sheet of paper I was using as a bookmark was completely covered in book recommendations, garden tips, project ideas, and recipes before I was even halfway through reading! It was definitely worth purchasing a copy rather than trying to write down (and then not lose . . .) all of those great ideas. I have a feeling this will be a book I come back to often as our family works on cultivating soil, skills, and spirit on our homestead.
Note: I was not payed to review this book, I just really love it! But if you click on the link above and buy the book at amazon.com, I will receive a small commission from the sale. Thank you for your support!

Saturday, January 9, 2016

Pumpkin Pancakes

After all of the traveling we did over the holidays (we were only home one of the last six weekends - the rest were spent visiting family and friends), it feels good to enjoy a relaxing Saturday at home. After doing chores, we came in and made a big double batch of these light and fluffy pancakes, and topped them each with a dollop of honey butter. Perfect!

Pumpkin Pancakes
2 cups flour (I like to use sprouted whole wheat, but white works fine, too)
1 Tbsp baking powder
1/2 tsp salt
1 3/4 cups milk (or buttermilk - I even used (unsalted) whey this morning, and they turned out wonderfully!)
3 Tbsp honey (or sweetener of choice)
1/4 cup melted butter
3/4 cup pureed pumpkin or squash
Stir together wet ingredients, then add dry ingredients and mix until slightly lumpy. Fry as you would any other pancake.