Showing posts with label Books. Show all posts

Thursday, May 9, 2019

Home Smoked Bacon

Homemade Bacon Recipe
I was really wracking my brain to think of an exiting title, but really, what's more exiting than that? Bacon is the product of a kind of miraculous alchemy, a blending of meat, salt, and smoke to make one of the top five most spectacular foods ever created. Knowing how to work that spell and make this magic at home (so you know exactly what is (or isn't) going into your bacon) is one of the greatest homesteading skills you can achieve!

I first heard of this recipe from a class I took at the Hay River Traditional & Green Skills 2018 event. The class was called Makin' Bacon! Home Smoking Basics, taught by Brett Laidlaw, a blogger and author with a cabin in northwestern Wisconsin, less than an hour from where I live (here's a link to his blog, which I encourage you to check out: troutcaviar.blogspot.com)

In his class, he showed us how to choose, cure, and smoke bacon in a cheap backyard grill. The best part? He gave out free samples of the finished product, so we could know if we liked it before we went to the trouble of making it for ourselves at home. Smart guy!

Here's the recipe, straight out of his book, Trout Caviar: Recipes from a Northern Forager:

Home-Smoked Bacon

2 pounds pork belly
1/4 cup maple syrup or brown sugar
3 Tablespoons salt (I use canning/pickling salt because of the finer texture)

Rub the pork belly with the maple syrup, sprinkle salt on all sides, and let cure, covered, in the refrigerator for 24 hours, turning occasionally. For a brown sugar cure, mix the sugar and salt and pat it evenly on all sides of the meat. 

The next day, rinse off excess salt, pat dry, and smoke at 200-220 degrees for 2-3 hours. The bacon will be both smoked and fully cooked. If you are unsure about whether the bacon is cooked at this point, set your mind at ease by placing it in a 200 degree oven for 30 minutes. A meat thermometer inserted into the bacon should read 160 degrees. 

Be sure to sample a small slice of he still-warm bacon straight from the smoker and sweating fragrant fat. You'll see that it's more than worth the small trouble of smoking your own.

See how easy that is? Only three ingredients, and if you use an electric smoker with a temperature probe (here's a link to the one I have), it takes all the guesswork out of it. I just rinse the marinaded meat, pat it dry, and set it on the rack. Insert the probe, shut the door, push a few buttons, and a few hours later - pork perfection.

If you don't have a smoker, he details in his book how to smoke your meat on a regular backyard grill. It's more putzy than an electric smoker, but you can still get the same amazing result.

Either way, it's suprisingly simple, and the results are well worth the effort (I heartily second his recommendation of sampling while it's still warm - and perhaps licking the pan . . .) Make sure to save any drippings; these are great for greasing the pan when frying eggs, etc.


Please note - the links above are affiliate links. If you make a purchase after clicking I will receive a small commission, but your price remains the same. Thank you for your support!

Monday, February 18, 2019

A Visit to the Forager's Harvest Store in Bruce, Wisconsin

I was so excited to see that the Forager's Harvest store (run by author and famous forager Sam Thayer, and conveniently located just half an hour from my house) was hosting a FREE Backyard Syrup Making class on Saturday. I'd been meaning to take my youngest daughter to this store for over a year (she's the one who will sit in my garden grazing on wood sorrel, chickweed, plantain, sheep sorrel and other weeds, harvested bags and bags of highbush cranberries for me, and who spent a good portion of last summer making acorn flour - this place is definitely right up her alley!), but just hadn't found a good time to do it. Since we're hoping to make maple syrup this spring, this seemed like the perfect time to go!

Although I'd toured different friends' sugar shacks over the years and read articles and books on the subject, I figured a class (and a free one, to boot!) would still be worth going to - especially one taught by an author I'd admired for so long. I wasn't wrong. The little tips and tricks he mentioned I forsee being a great help this spring, and I definitely think I'll be trying his three-pan outdoor boiling method.

After the class, the girls and I explored the store, limiting ourselves to only buying the second two books in his Forager's Harvest trilogy (I'd given my daughter the first for her birthday last year - as well as the Birds of Prey of the Midwest, Butterflies of the Midwest, and Animal Tracks Midwest Quick Guides that I'd picked up on a previous visit to the store). Perusing the bookshelves, I felt right at home - in fact, other than the two books I just mentioned, I had trouble finding a book I was interested in that I didn't already own! Nourishing Traditions, Putting Food By, The Art of Fermentation, Rosemary Gladstar's Medicinal HerbsTrout Caviar - we have all of these books in common (and many more, but I don't want to bore you with my geeking out any more than I already have). 😉

I also found out that they sell their maple syrup in glass containers (I hate buying food in plastic!), and for a better price than I've found anywhere else. So if my home syrup operation completely bombs, I know where I'll go!


Please note that the links above are affiliate links. If you make a purchase after clicking I will recieve a small commission, but your price remains the same. Thank you for your support!
Saturday, February 13, 2016

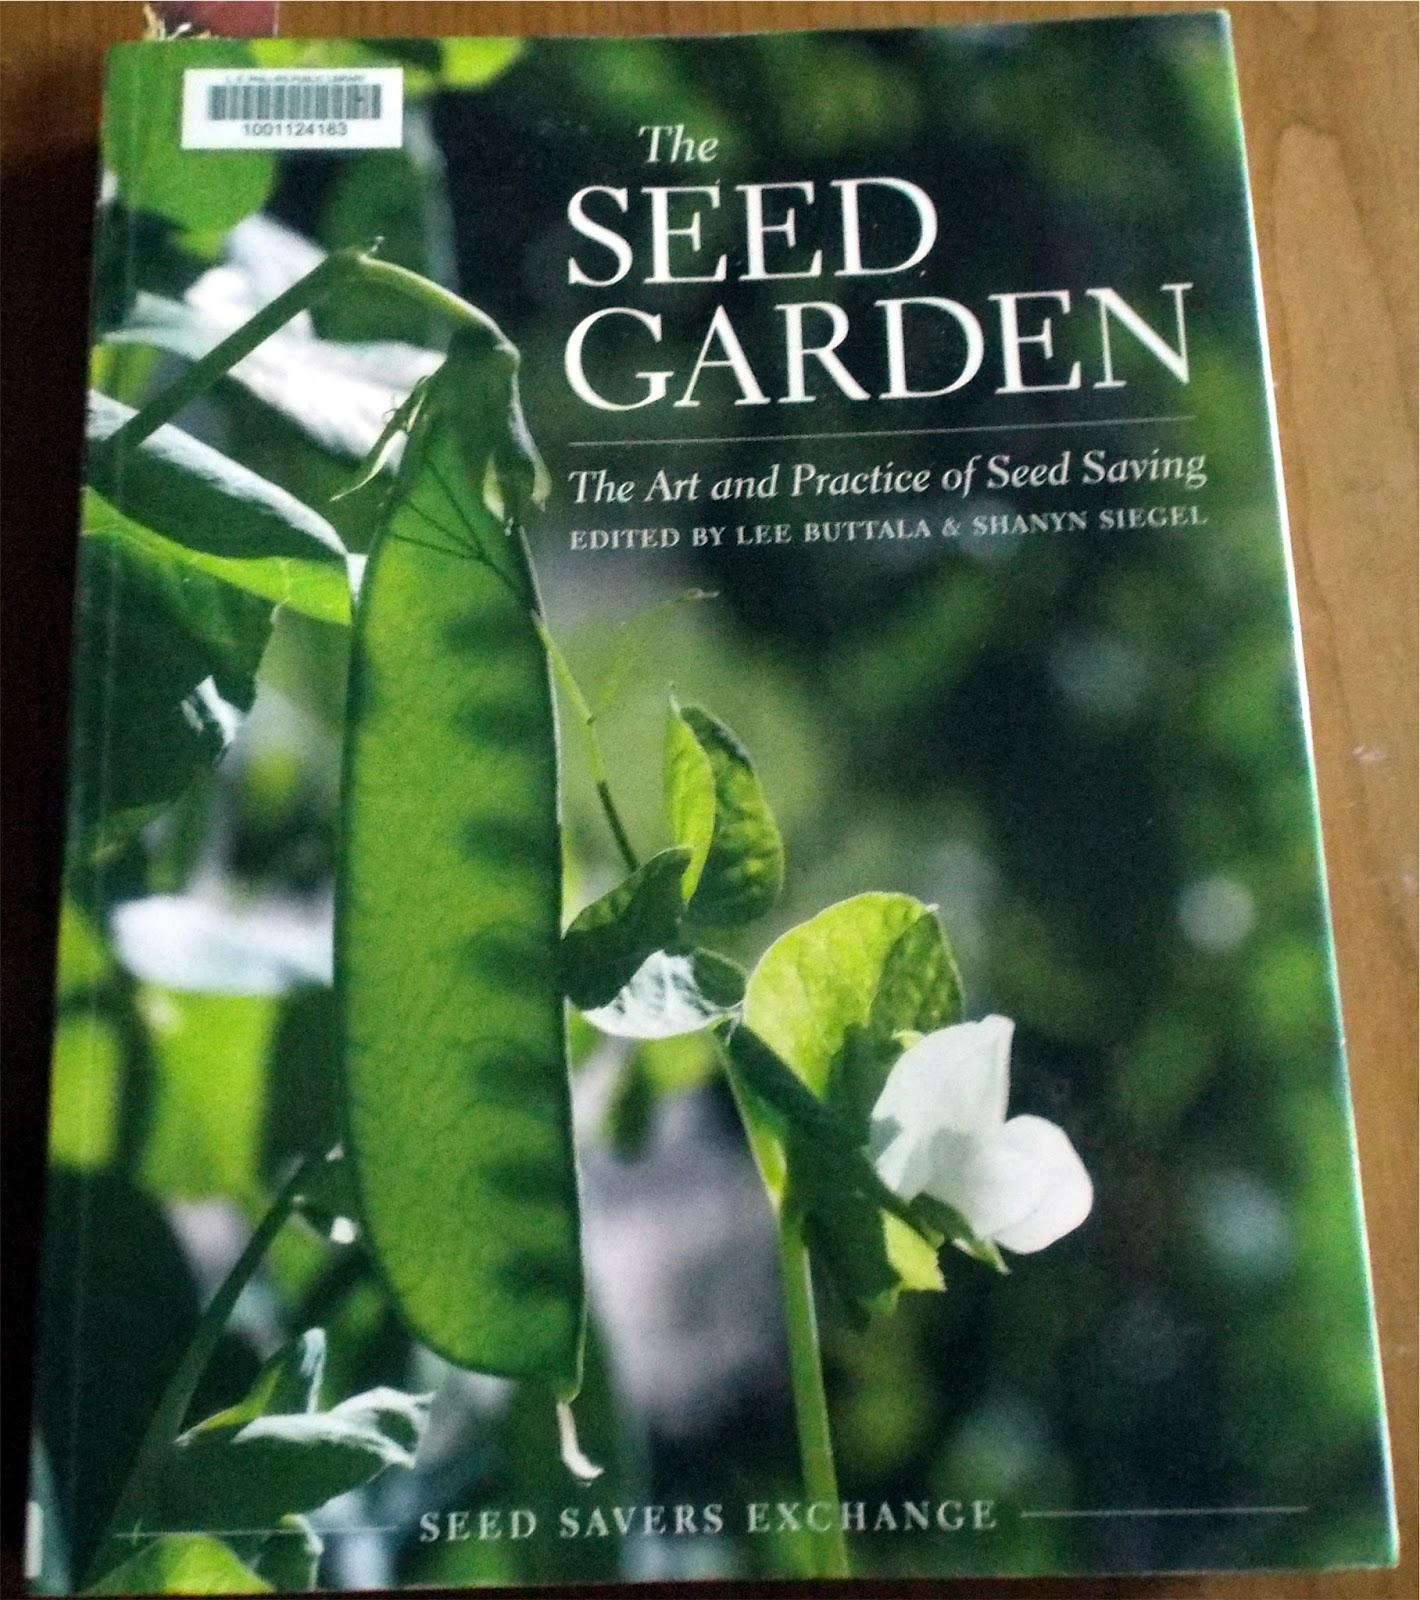
Favorite Books of 2015 #3 - The Seed Garden

The Seed Garden: The Art and Practice of Seed Saving edited by Lee Butalla and Shanyn Siegel
(click on the link above to buy the book on Amazon)

One thing I'd like to do more in my garden is saving my own seed, but to be honest, I know just enough to know I don't know enough to do it well! I know, for example, that I need to have a large enough planting to avoid inbreeding in certain crops (although self-pollinating crops, like beans, don't have this problem) - but which ones were self-pollinating again? And for those that do cross-pollinate, which crops do they cross with, and how much spacing do I need between them? When it's harvesting time, how do I know when my seeds are fully mature, and how do I dry and store them? I remember that tomato seeds need to be soaked and fermented before they're ready, but what other seeds need this? And which ones need a cold period?

I could hunt down information online about each crop when I was planning my garden, and again when I was harvesting seeds, but in the hustle of summer harvesting, who's got time for that? And in January when I'm planning my garden, my kitchen table is already overflowing with books on companion planting, how-much-to-grow-for-how-many-people charts, lists of how much our family ate last year, and of course seed catalogs! There's no room for seed-saving research for a dozen different plants.

That's why this book is a Godsend. In one handy, indexed volume are 230 pages of crop-by-crop descriptions of everything you need to know about each crop (usually two or three pages per crop), including history of the plant and its common uses, how to grow it for seed (not necessarily the same as growing it for food), pollination requirements, variety maintenance concerns (isolation distances, inbreeding depression, specific traits to select for, etc.), how to tell when your seed is fully mature, and how to dry and store your seed.

And if you don't know why all of that matters, the first 119 pages of the book are like a Seed Saving 101 course, giving you the whys and hows of seed saving and basic plant genetics (but in a very friendly and understandable way). This book is packed with information, and would be useful for both the first-time seed saver and the expert, who would welcome having all of this information at his fingertips. Much more comprehensive than other books on the subject (but not overwhelmingly so), this handy reference would be a useful addition to every gardener's bookshelf.

*** I should note that although this book is pretty comprehensive in respect to vegetable varieties, it does not cover flowers or herbs (I'm assuming they chose not to because of the sheer size that volume would have to be!) For those, I will be keeping my old copy of Seed Sowing and Saving by Carole Turner, which lists basic information for saving both vegetable and common herb and flower seed (although it's by no means as extensive in terms of vegetable crops as The Seed Garden, or as comprehensive in the information about each plant - Seed Sowing and Saving mostly just covers how to preserve the seed, and basic planting requirements).
Note: I was not payed to review this book, I just really love it! But if you click on the link above and buy the book at amazon.com, I will receive a small commission from the sale. Thank you for your support!

Favorite Books of 2015 #2 - The Art of Natural Cheesemaking

The Art of Natural Cheesemaking: Using Traditional, Non-Industrial Methods and Raw Ingredients to Make the World's Best Cheese by David Asher
(click the link above to buy it on Amazon)

I am so excited about this book! I knew, deep down, that people made cheese before the advent of stainless steel and mail-order bacterial culture packets, but I couldn't find any information on how. I'd catch glimpses in cheesemaking books (usually glossed over under a quick "history of cheesemaking" section), or on over-my-head technical websites on bacteriology, but never anything I could really use. Until now . . .

From the first two paragraphs of the introduction, all the way to Appendix E (Comparison of Microorganisms in Commonly Used Starters, Raw Milk, and Kefir), this book answers all of my questions (and quite a few I didn't know enough to ask). And best of all, it's full of recipes! I discovered that my "Homemade Press-Less Raw Cheddar Cheese" isn't really a true cheddar at all - "cheddaring" is actually a term referring to the way the cheese is cut, stacked, and pressed. But it does match pretty closely with his recipe for Basic Rennet Cheese, which is a sort of "blank" cheese that can then be made into cheddar, mozzarella, blue cheese, Camembert, feta, or Gouda, depending on the steps that follow. So technically, my recipe is for cheddar cheese that hasn't been cheddared! Asher does note, however, that "this fresh cheese is eaten in vast quantities in Europe, the Middle East, and Central and South America." Apparently, then, my family is in good company - they eat this fresh cheese in vast quantities, too!

As I mentioned, one reason I was excited about this book was the idea of making cheese without packaged bacterial starter cultures. I knew it could be done (I'd made cottage cheese out of raw milk without adding any starter culture at all, just rennet), but I wasn't about to risk four gallons of precious milk on an experiment I wasn't sure would work. Knowing that someone who knows what he's doing uses this technique on a regular basis gave me the confidence to try it.

So how does he get around using mail-order cultures? He uses either kefir or active whey (leftover from a previous batch of cheese, and thus host to the bacteria needed to make another batch). I chose to use kefir, mainly because of the catch-22 that I wouldn't have any active whey until I'd made a batch of cheese with the proper bacteria - which I wouldn't have until I had some active whey . . .

At first I thought perhaps I could just use whey from a batch of cheese I'd made with my freeze-dried cultures, but Asher says this isn't a good idea: "Cheesemakers can not reculture their DVIs [Direct Vat Innoculants - purchased freeze-dried cultures]. They are unstable collections of bacteria that do not exist in nature, whose profiles change over time, and whose performance and quality will decline if reused. Much like the unpropagatable hybrid seeds that many farmers use, DVIs must be purchased anew for every batch of cheese. Cheesemakers, therefore, become dependent upon purchased packaged cultures. Even if it were possible, reculturing the proprietary blends of often trademarked cultures may not even be permitted!"

So that left kefir as my best option for a sustainable starter culture. Kefir grains (which are not really grains like wheat or oats, but rather a symbiotic colony of bacteria and yeasts - similar to a kombucha SCOBY, although they look completely different and host different microbes). Thankfully, a friend of mine had some extra kefir grains she was willing to share (kefir colonies grow quickly, and need to be divided regularly), and by the end of the week my kefir production was cruising right along. To keep my grains healthy, I need to feed them much more than I'd need just for once-a-week cheesemaking, so we mix the extra with bananas and blueberries each morning for a tasty probiotic breakfast smoothie.

Now that I have my kefir ready to go, I can make almost any kind of cheese in the book (other than blue cheese - to get the tasty blue bloom, I'd need to grow some Penecillium roqueforti - which Asher claims is easy to do on homemade sourdough bread. He even shares his sourdough recipe in Appendix A!) The recipes are all very simple and straightforward, and if you do run into a problem, he includes a troubleshooting guide in Appendix D, covering all of the cheese recipes in the book. Whether you're a beginning cheesemaker or just looking for a more sustainable way to make your homemade cheese, this book is full of useful information for anyone who wants to make good cheese.

Note: I was not payed to review this book, I just really love it! But if you click on the link above and buy the book at amazon.com, I will receive a small commission from the sale. Thank you for your support!

Favorite Books of 2015 #1 - The Nourishing Homestead

The Nourishing Homestead: One Back-to-the-Land Family's Plan for Cultivating Soil, Skills, and Spirit by Ben Hewitt
(click the link above to buy it on Amazon)

I love this book. It has everything I love to read in a homesteading book, all rolled into one: stories, recipes, how-to, and inspiration, all in an easy-to-read conversational style from someone who's living the life he's describing. It's not all sunshine and rainbows - he freely discusses the trials inherent in farm life, the struggles they've faced, and mistakes they've made. It's a practical and philosophical discussion of their life building a homestead.

One of the main themes throughout the book is his idea of economics - not necessarily how much fiduciary capital you can accumulate (although he's not against money), but how much joy, fulfillment, and purpose you gain or give up in exchange for the time and effort you expend. Working 40 hour weeks in an office might earn you a bigger paycheck, but is that worth the loss to your physical health and relationships? Not to mention the satisfaction of seeing your efforts result directly in producing the things your family needs (like food, shelter, clothing, etc.)

I really appreciate that, like me, one of their family's main reasons for pursuing the homestead life is a recognition that home-grown food, with a focus on soil and animal health, is crucial to promoting your family's health. There are many reasons for homesteading (some more reasonable than others), but this is one that really resonates with me.

In pursuit of their goal of healthier food for their family, they focus on both gardening and animal husbandry (devoting a chapter to each, plus a chapter on animal slaughter and processing). The fourth chapter in particular details their research and reasons for farming and cooking as they do. But the book (and the lifestyle) are about much more than food, as chapter 9, Money and "Stuff", describes. The final chapter, Children on the Homestead, particularly struck a chord with me, since we also homeschool and try to involve our kids into our daily homesteading tasks. Although I don't completely agree with all of their choices (we don't "unschool", and we make sure our Christian worldview is integrated into all of our studies), I do agree with much of their philosophy.

This is one book that I knew I'd have to buy as soon as I started reading - the sheet of paper I was using as a bookmark was completely covered in book recommendations, garden tips, project ideas, and recipes before I was even halfway through reading! It was definitely worth purchasing a copy rather than trying to write down (and then not lose . . .) all of those great ideas. I have a feeling this will be a book I come back to often as our family works on cultivating soil, skills, and spirit on our homestead.
Note: I was not payed to review this book, I just really love it! But if you click on the link above and buy the book at amazon.com, I will receive a small commission from the sale. Thank you for your support!

Wednesday, May 20, 2015

Much More Mulch: Cover Crops

I like to think I've come a long way since back in 2011 when I last wrote about my mulching experiments. No more plastic for me; now I'm mulching with combinations of chicken bedding, cardboard, living mulches, and green manures. Instead of being concerned only with weed control (although that is certainly still my main priority), I now think more in terms of soil building and conditioning.
While green manures aren't primarily meant to be a mulch, they will cover your soil somewhat and minimize new weed seeds emerging. Anna Hess over at The Walden Effect was kind enough to send me some oilseed radish and oat seeds to try out for her new book, The Ultimate Guide to Soil (due to be published in Spring or Summer 2016 - if you can't wait that long, I highly recommend her e-book Homegrown Hummus: Cover Crops in a No-Till Garden). Since she lives in zone 6, she was interested in how these crops would work in my zone 3-maybe-4 garden.
I'm sorry to say that I probably wasn't very much help, since I sowed the seeds quite late in the season, and didn't keep the best records (last fall was extremely busy, for non-garden-related reasons); but I can share the few things I did observe. Both crops did grow (although the oats seemed to have trouble - Anna reported that her oats had a lower germination rate than she'd been hoping for, too). The bed I sowed the radishes in had been double-dug and filled in with old logs and compost the previous summer (2013), then topped off with soil (kind of a hybrid of John Jeavons double-digging method and Sepp Holzer's Hugulkulture). I'd planted the bed with rye that spring (2014), then after the rye was harvested I covered the bed with a layer of leaves. When I sowed the radish seeds from Anna in early September, I simply sprinkled them over the leaves and watered them in well. 
Here's a shot of the oilseed radishes, just after a hard frost last November:
As you can see, the mulch blocked out a good number of the seeds, and the plants that did make it through the leaves didn't get more than about 6 inches high before they were killed by frost.
For me, the real test was how the gardens look this spring. I went out this morning and took the shot below, showing the radish seeds that apparently didn't germinate last fall but sprouted this spring (I pulled up a few, and they definitely don't have roots big enough to have carried them through the winter). For my purposes, I wanted these plants to winterkill and keep the ground covered over the winter, but leave the ground open for planting this spring. So seeing seedlings coming up this spring was disappointing (but since they pulled up quite readily it wasn't a deal-breaker for me). Obviously the grass coming up behind is going to be a much bigger problem. That does show, however, that the radishes didn't work extremely well as a weed barrier - but I haven't yet found a cover crop that will block out grass!
Another matter of interest was how the radishes affected the soil below. I turned up a patch under these radish seedlings, and the soil was quite loose and nice. There was another patch, however, where the soil hadn't been double-dug (it was under a young apple tree, and I didn't want to disturb the tree's roots while I was building the bed below it). When I turned over the soil under the radish seedlings there, the soil was much more dense, even though it had been under the same cover of radishes and leaf mulch.
So in terms of soil conditioning, the radishes didn't seem to have much effect (although that was probably due to how late I planted them - they didn't have time to make much of a root, which in turn would break down and add organic matter to the soil).
As for the oats, it was really hard to tell how they did, since there is so much grass invading the area. I could tell last fall that some of it had come up (there is a slight color difference between the oats and the grass), but again, it wasn't thick enough to keep the grass out entirely, and since I had the leaf mulch already on the bed, the oats didn't do much in terms of covering the soil.

So, Anna, I'm sorry I wasn't much help, but hopefully you can use at least some of the information I learned. It was very interesting for me to experiment with some crops I wouldn't otherwise have tried!

Wednesday, March 9, 2011

Hi!

Ok, so it's March in Wisconsin. So what's a cheerful agrarian do in the middle of winter? I cook! I sew! I homeschool 5 adorable munchkins! And, of course, I read farming books (currently The Sheer Ecstasy of Being a Lunatic Farmer by Joel Salatin)!

I also move my garden inside (or at least a small part of it). I have my six pots of herbs on the kitchen windowsill (parsley, rosemary, garlic, oregano, chives, and a (currently dead) 😢 thyme). Also an 8x8 glass pan with lettuce (although I think it's too shallow; it's pretty root-bound already). Downstairs I have an Earthbox with more chives, lettuce, and some newly-planted onion seeds. And three bags of organic potatoes that started to sprout before I could use them, resting peacefully in the fridge, waiting for the ground to thaw.

So, I probably won't have many gardening posts for a bit yet; I'll have to keep you entertained with tales of the reason I garden - yummy food! :)

Please note - the links above are affiliate links. If you make a purchase after clicking I will receive a small commission, but your price remains the same. Thank you for your support!